Design and develop learning content quickly and easily with the in-line editing view
Admin
Updated:
October 17, 2025
Overview
This article shows how you can use the in-line editor view to quickly and easily design courses and development learning content. This is most effective when you want to make quick changes to a course structure and build the learning content.
What are the benefits of content development with an in-line editor?
When learning designers and educators collaborate in the in-line rich text editor, content development becomes faster, more efficient, and dynamic. The real-time editing allows both to review contributions, structure materials, and integrate media without delays or version control issues. The educator contributes subject matter expertise, while the designer enhances clarity, engagement, and accessibility.
Both can use the features of comments, tracking changes, and formatting tools to share feedback and encourage iteration, ensuring high-quality content.
From storyboard to content editing
Every learning design starts in the outline view - use this to plan, structure, and visualise the learning experience at a high-level. Use the outline as the blueprint to show the flow of content, activities, and assessments. Once the structure is well-defined, you can switch to the Content view which then gives you a simple, but powerful, content editor for rapid content authoring (including pasting content from other sources, such as documents).
Contains
This article will cover how to switch views and each step needed to make design changes and build the learning content in your designs.
Changing design views - how to switch from the larger format 'sticky notes' to the slimline rows view.
Adding detail - expand any design item with rich text learning content.
Switching to the Content view - to work quickly through your design.
Terminology
Content item - any individual component of a learning design.
Row view - a slimmed-down view of your design to navigate quickly and easily between content items.
Ready? Let's add more detail into your design 🚀
Switch between Outline and Content views
Step: Select 'Content' (at the very top of the screen)
Quickly switch between 'Outline' and 'Content' from the top (middle) menu
Step: Navigate to any item in your design - open the 'content browser' menu
Selecting any content item from the content browser menu (top left icon)
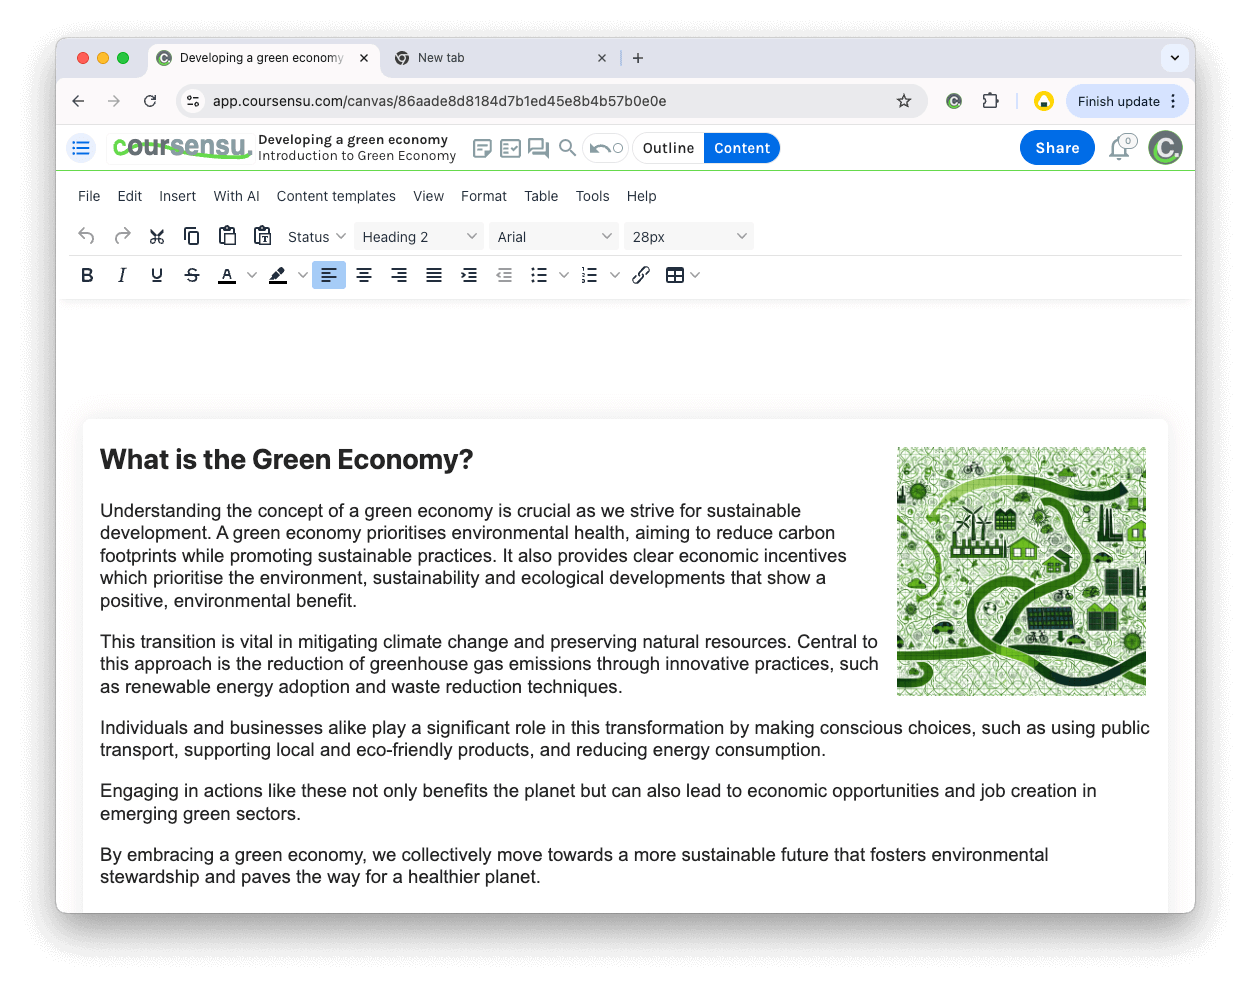
Step: Select any item to load it in the content editor
A different content item loaded in the content editor
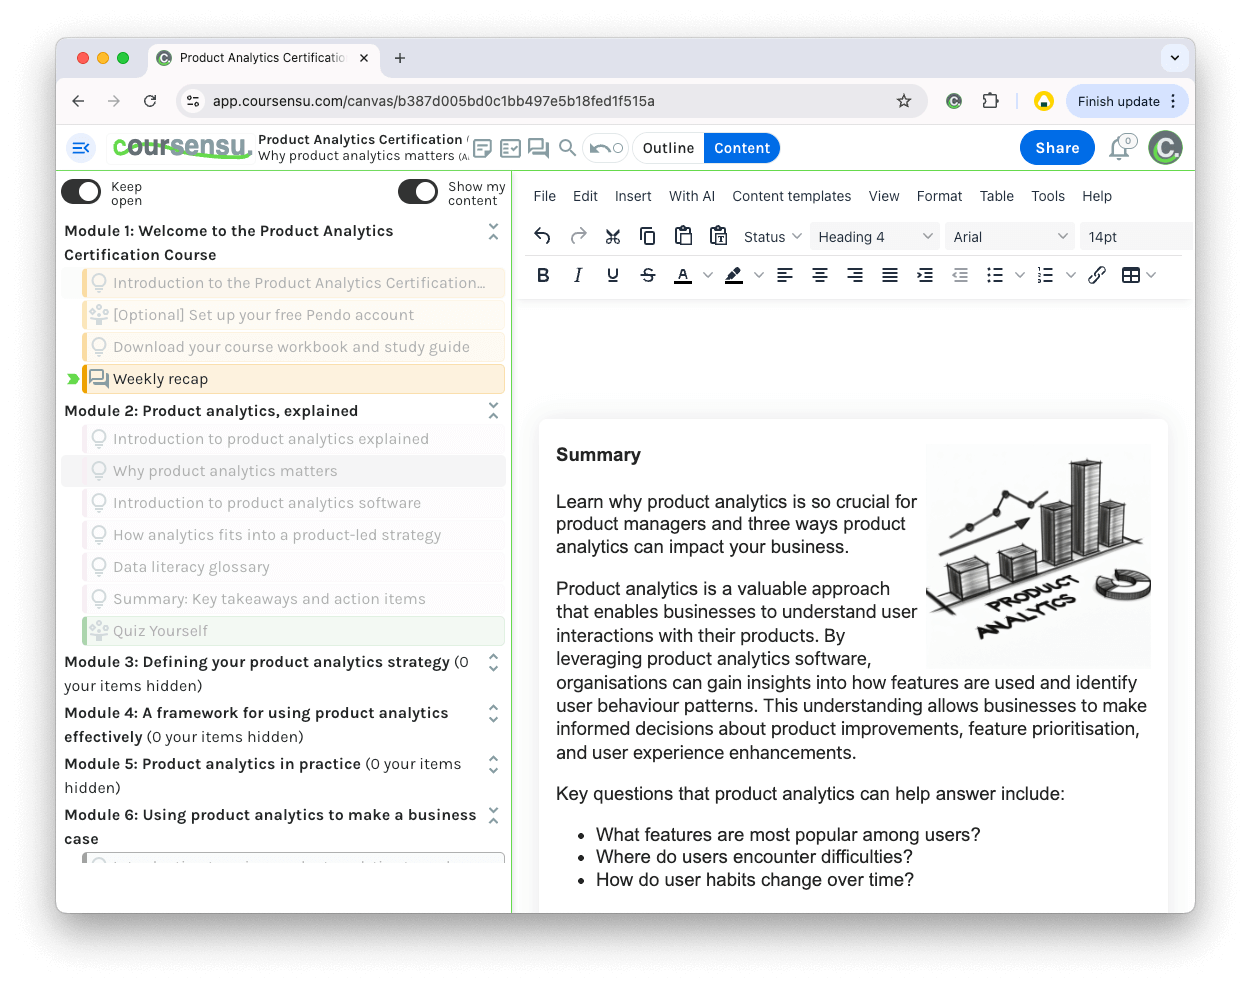
Optional Step: Pin the content browser menu (to keep it open for faster navigation)
Observe the 'Keep open' option selected - to achieve a split-screen, quick access mode
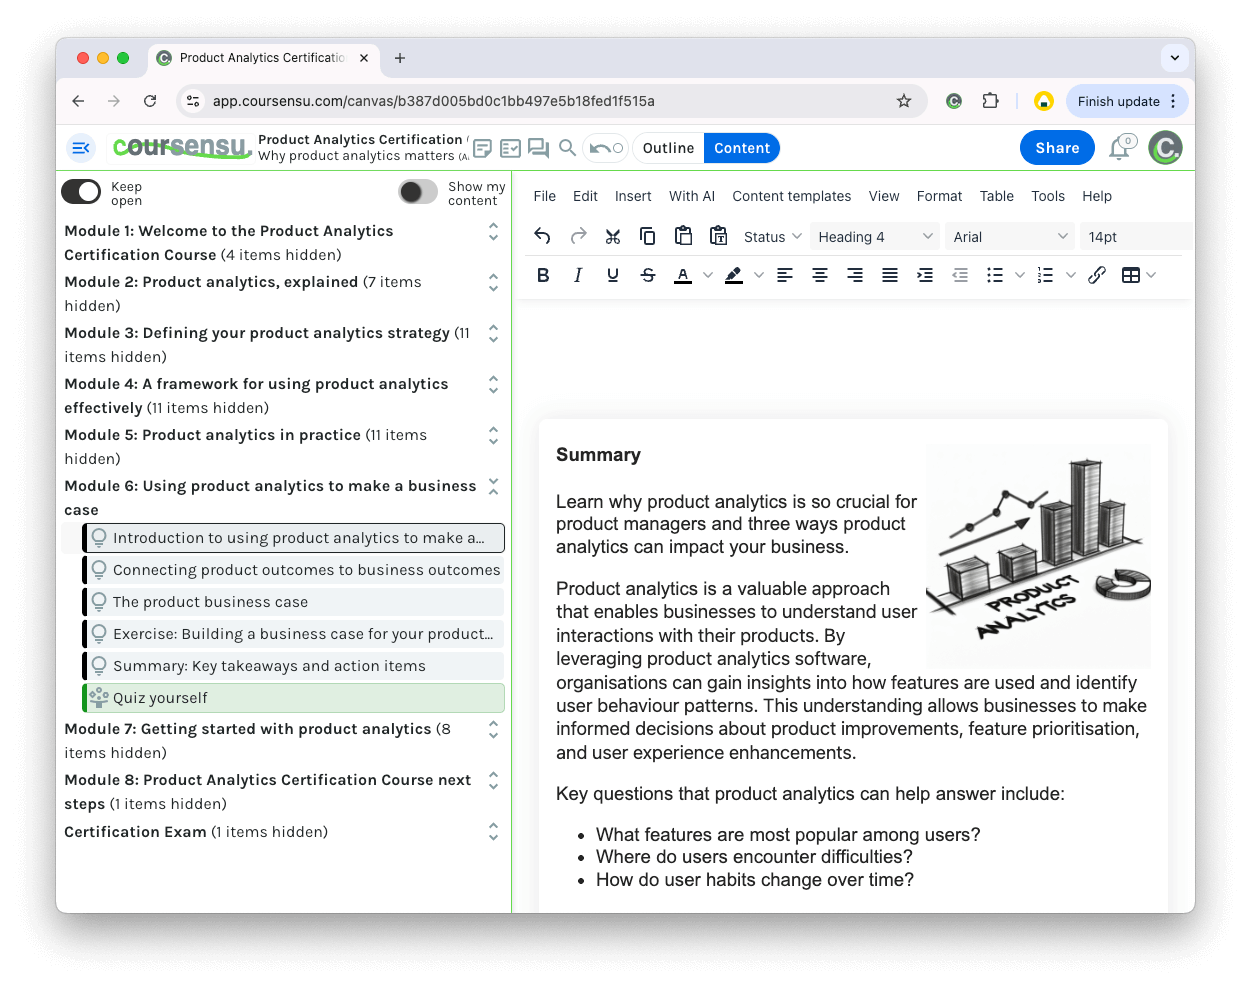
Optional Step: Select only your content (when people have been allocated) to visually distinguish your content items
Your 'allocated' or 'assigned' content can be set in the Outline view and then toggled in the content editing view.
Optional Step: Expand or Collapse content sections - to aid navigation on larger courses / designs.
Expanded and (mostly) collapsed sections - to aid navigation on larger courses
Changing Design Views - from 'sticky notes' to 'rows'
Step: Navigate to one of your designs & select the 'Edit details' icon (on the left).
Switch views in any design by selecting the 'Edit details' toolbar icon
Step: Scroll down the options and change the view to 'Slimmer rows' and 'In-line'.
The 'Edit Details' page - scroll to change the view options.
The View options - sticky notes or slimmer rows
Tip: This combined view gives you the fastest experience, especially for larger designs. You are free to mix and match the views however you like.
Step: Close the Edit Details screen to see the new view
The 'Slimmer rows' view shows all content items as a list view instead of larger, sticky notes.
Next Steps
Invite others to co-design and co-create learning content.
Connect the learning content with your outcomes or objectives.
Send the design to stakeholders for their review and comments.